
Weather Station Maintenance Checklist
A safe, practical schedule for cleaning sensors, checking power and mounting, troubleshooting suspicious readings, and documenting service.
Maintenance schedule at a glance
| Frequency | Check | Why it matters |
|---|---|---|
| Monthly and after severe weather | Rain funnel, wind cups/vane, visible debris, level, loose hardware, solar surface, battery warning, data gaps. | Leaves, insects, ice, gusts, and vibration can create abrupt errors. |
| Seasonally | Radiation shield, rain mechanism, mounts, corrosion, seals, cables, orientation, nearby vegetation, backup batteries. | Pollen, dust, smoke, growth, moisture, and temperature cycles accumulate gradually. |
| Annually | Full site review, documented comparison, firmware/configuration, coordinates/elevation, spare parts, mast stability, service history. | The site and equipment can change even when no obvious failure occurs. |
| As the manual specifies | Battery replacement, rechargeable cell service, calibration, desiccant, seals, sensor modules. | These requirements vary materially by model and should not be guessed. |
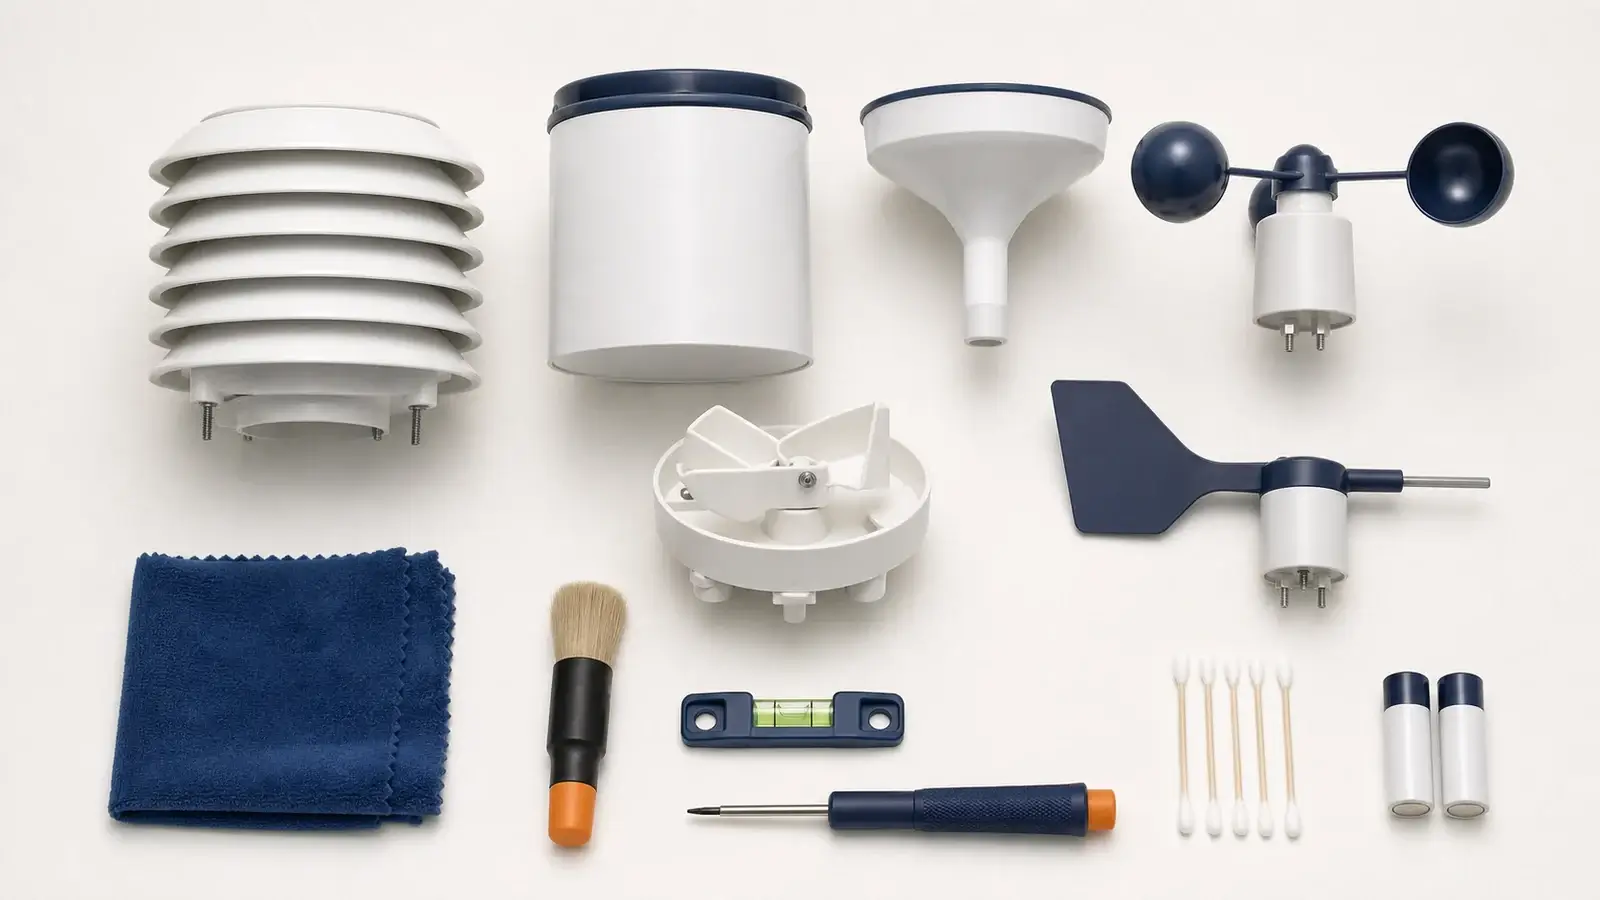
Inspect
Look for debris, damage, lean, corrosion, and blockage.
Clean
Use gentle, manual-approved methods.
Test
Confirm free movement, level, power, and communication.
Compare
Check trends against trusted nearby observations.
Record
Log the date, work, photos, and remaining concerns.
Clean each part without damaging it
Remove blockage and re-level
Clear leaves, seeds, insects, webbing, droppings, and other debris from the funnel, screen, tipping path, and outlet. Use a soft damp cloth or the method in the manual. Do not bend or add weight to the tipping mechanism.
Restore free movement
Remove dirt, webbing, nesting material, and ice when it is safe. Wipe gently and confirm the cups and vane move normally. Do not lubricate a shaft unless the manufacturer explicitly instructs it.
Keep airflow paths open
Brush or wipe dust, pollen, insects, and debris from shield plates and ventilation openings. Disassemble the shield only as the manual permits, and keep moisture away from exposed electronics.
Clean the optical surface
Use a soft clean cloth and manual-approved water or cleaner. Avoid abrasives and solvents. Recheck that the UV or solar sensor remains level and unshaded.
Inspect the structure
Check clamps, guy wires, anchors, fasteners, mast plumb, cable routing, drip loops, gaskets, and corrosion. Tighten only to the manufacturer’s torque or practical limit—overtightening can crack plastic.
Protect the data path
Confirm time, units, coordinates, elevation, firmware, Wi-Fi or network status, storage, and upload destinations. Back up exports or configuration where the system supports it.
Batteries and solar power
A station described as “solar powered” may use replaceable backup batteries, an internal rechargeable cell, a capacitor, or another architecture. The console or gateway may use mains power separately. Follow the exact manual for battery size, chemistry, polarity, seals, and replacement interval.
Inspect before replacing
- Check battery warnings and communication gaps.
- Look for corrosion, swelling, leakage, water entry, or damaged contacts.
- Clean contacts only with a method approved by the manufacturer.
- Confirm the solar surface is clean and receives the intended exposure.
Do not assume lithium is always better
Lithium primary cells can perform well in some cold-weather equipment, but their voltage and discharge behavior may not suit every station. Some products require alkaline cells or use a dedicated rechargeable pack. The model manual wins.
For a full explanation of station power designs, see solar-powered versus battery-operated weather stations.
Symptom-to-first-check troubleshooting
| Symptom | First maintenance checks | Next step |
|---|---|---|
| Rain reads zero during a known event | Funnel/screen blockage, tipping path, level, ice, nearby rain shadow, console link. | Run only the manufacturer-approved functional test, do not force the mechanism. |
| Rain total is unexpectedly high | Splash, roof/tree drip, insects, loose or bouncing mechanism, accidental movement. | Compare the event with multiple nearby gauges and review siting. |
| Wind sticks at zero or one direction | Ice, debris, webbing, physical damage, free movement, cable/radio status. | Check replacement-part and service instructions. |
| Daytime temperature is consistently warm | Dirty/blocked shield, roof/pavement/wall heat, weak ventilation, changed vegetation. | Correct exposure before applying an offset. |
| Intermittent outdoor data | Battery state, contacts, water entry, antenna/orientation, distance, interference, gateway power. | Use the model’s pairing and diagnostic process. |
| Pressure differs from another source | Station pressure versus sea-level pressure, elevation setting, units, comparison time. | Compare like with like during stable weather. |
Verification is not the same as calibration
Cleaning and siting corrections should come before calibration. A single consumer thermometer placed next to the station can share the same exposure error, and a distant airport can reflect a real microclimate difference. Compare trends with more than one trusted source and use a controlled reference procedure when the manual provides one.
Use the weather station accuracy guide for measurement-by-measurement troubleshooting and the installation guide when maintenance reveals a siting problem.
Keep a maintenance record
Record the date, weather conditions, work performed, battery type, firmware changes, and any before-and-after reading pattern. A short log helps separate a recurring exposure problem from gradual sensor drift or a one-time obstruction. Photograph the array from the same directions after seasonal service so growing vegetation, a shifted mast, new construction, or a changed roofline is easier to recognize later.
Maintenance FAQ
How often should I clean a home weather station?
Inspect it at least monthly and after major wind, ice, pollen, smoke, or leaf events. Clean when debris or buildup appears. A seasonal deep check is a practical starting point, but local conditions and the model manual may require more or less frequent service.
Can I spray the station with a hose?
Do not assume that weather resistance means pressure washing or direct hosing is safe. Use the cleaning method in the manual and protect openings, connectors, electronics, and seals.
Should I lubricate the anemometer?
Only if the manufacturer specifically tells you which part and lubricant to use. Many sensor shafts or bearings are not intended to be oiled, and the wrong product can attract dirt or damage materials.
When should weather station batteries be replaced?
Follow the model manual and battery warning behavior. Climate, radio interval, battery chemistry, solar exposure, and equipment age affect service life, so one universal interval is unreliable.
Sources and further reading
These university, manufacturer, and field-instrument references support the cleaning, inspection, and seasonal-maintenance guidance in this guide.
Cornell NEWA maintenance guide — University guidance for maintaining automated weather stations.
Ambient Weather seasonal maintenance tips — Manufacturer guidance for inspection and weatherproofing.
AcuRite weather-station maintenance — Manufacturer cleaning and seasonal-care recommendations.
Campbell Scientific station maintenance — Field-instrument guidance for components that need regular attention.