
Weather observation field guide
How to Measure Rainfall Accurately at Home
A trustworthy rainfall total depends on where the gauge sits, when you read it, and how you handle the meniscus, overflow, trace amounts, and observation period.
Quick answer
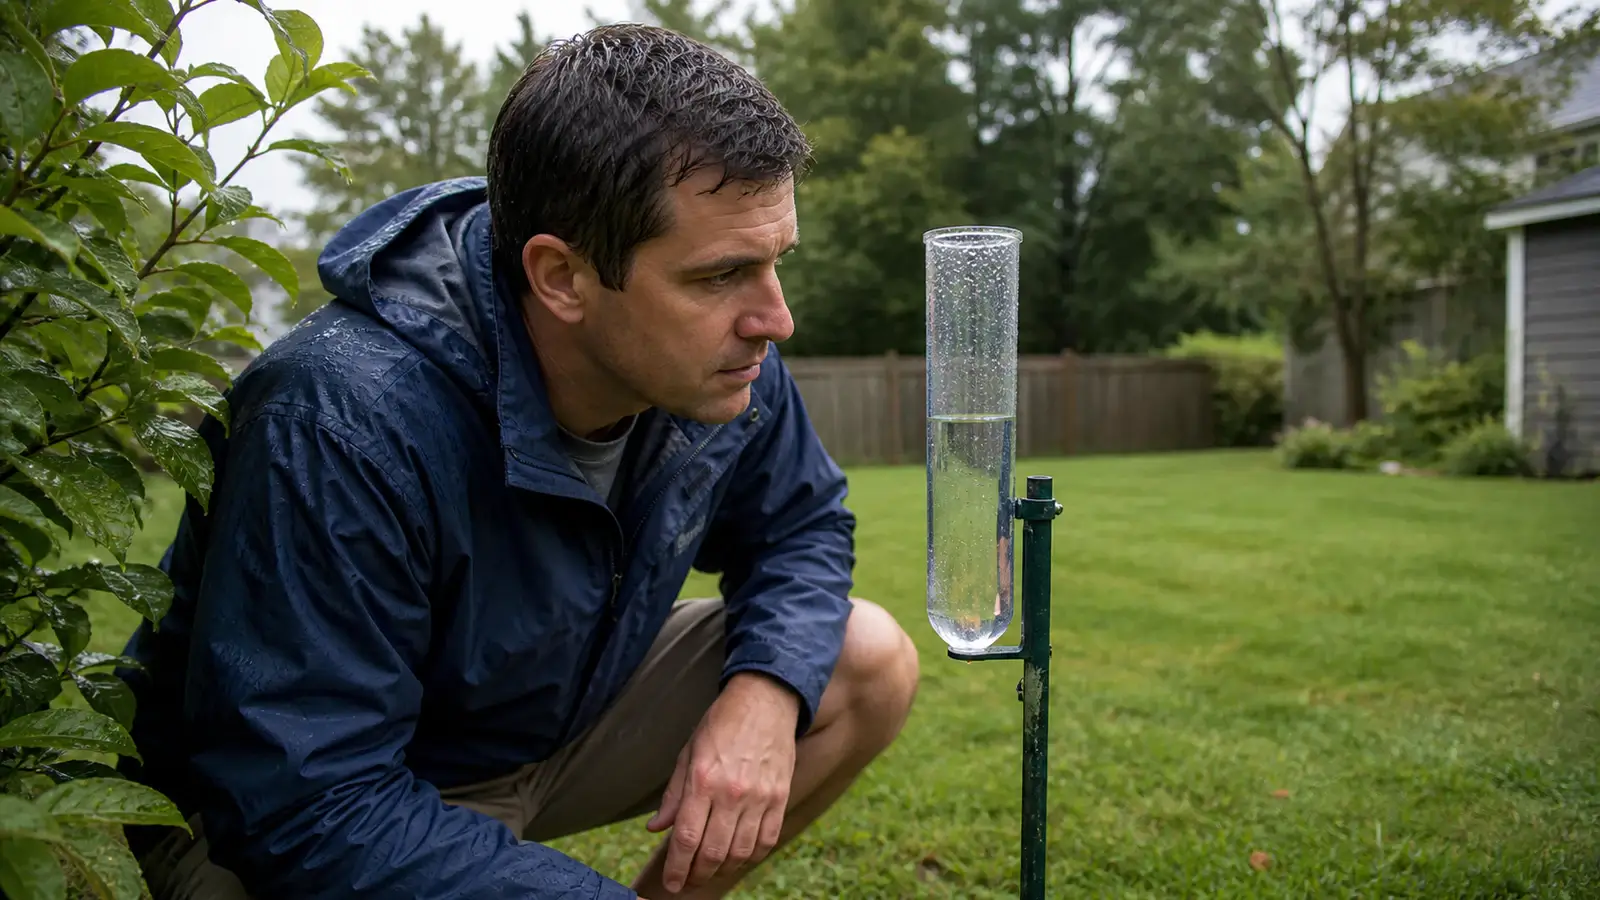
Place a calibrated four-inch manual rain gauge in an open, level area away from roofs, trees, fences, and pavement. At the same time each day, bring the water surface to eye level and read the bottom of the meniscus to the nearest 0.01 inch. Record the amount before emptying the gauge. If water reached the overflow cylinder, measure that water in the calibrated inner tube in one or more pours and add the readings.
Rainfall is one of the easiest weather elements to observe at home, but a number printed on a tube is not automatically a good measurement. Wind can carry drops over the opening, a nearby roof can splash extra water into it, and an inconsistent reading time can combine parts of two different storms. The goal is not to make every backyard agree. It is to make your own observation represent its location honestly and repeatably.
This method follows the practical guidance used by the Community Collaborative Rain, Hail and Snow Network, known as CoCoRaHS, and National Weather Service cooperative observers. You can use it for a personal weather journal or as preparation for joining a formal observer network.
Choose a gauge you can read precisely
A standard four-inch manual rain gauge is the most useful low-cost choice for careful home observations. Its large outer cylinder catches precipitation, while a narrow calibrated inner tube magnifies the water depth so you can read hundredths of an inch. The inner tube typically holds exactly one inch of rain, heavier amounts spill into the outer cylinder.
A small wedge-shaped garden gauge is fine for a quick estimate, but closely spaced markings and wind exposure make hundredth-inch readings harder. A tipping-bucket electronic gauge provides convenient timing and intensity data, yet its moving mechanism can miss water during very heavy rain, clog with debris, or drift out of calibration. If rainfall accuracy matters, keep a manual gauge as the reference and compare the electronic total periodically.
Affiliate disclosure: WXObservation may earn a commission from qualifying Amazon purchases, at no additional cost to you. Availability, seller, and price can change, so confirm the current listing before ordering.

Recommended manual reference gauge
Stratus Precision Rain Gauge
The Stratus matches the four-inch manual design described above. Its calibrated inner tube reads rainfall to 0.01 inch, while the outer cylinder captures overflow for totals up to 11 inches. CoCoRaHS lists the Stratus among its approved manual rain gauges.
Check before buying: Confirm the listing is sold by FLI Products, LLC and identifies model DPRG0001. Mount the gauge level in an open location away from splash and obstructions.
Keep the opening standard. Do not pour water from a wide household container into a narrow measuring tube unless the system was designed that way. Rain depth is the collected volume divided by the catch area. Changing either part changes the answer.
Where to place a home rain gauge
Choose a level, representative patch of ground with a clear view of the sky. The National Weather Service advises avoiding obstructions that create turbulence or splash. A practical siting rule is to keep the gauge at least two times the height of a nearby obstruction away from it when possible. A 10-foot tree or fence, for example, should ideally be 20 feet away. Greater separation is better when the obstacle is upwind during common rainstorms.
- Avoid roof edges and downspouts. Drips and splash can greatly inflate the catch.
- Stay away from pavement. Hard surfaces can splash water into a low gauge and radiate heat that affects frozen precipitation.
- Do not use an exposed rooftop. Stronger, more turbulent wind commonly reduces the amount caught.
- Keep the opening level. A tilted collector presents a smaller effective area to falling rain.
- Mount it securely. The rim should stay above nearby grass but remain easy to reach and read.
No residential site is perfect. Buildings and trees are part of the local environment, and rainfall itself varies across a neighborhood. Document the gauge location, choose the best exposure you reasonably have, and resist moving it from storm to storm. If you relocate it, note the date because the change may affect comparisons with older records.
How to measure rainfall step by step
- Use a consistent observation period. Read the gauge at the same local time each day. Your total then describes the preceding 24 hours rather than a vaguely defined calendar day.
- Check for contamination. Remove insects, leaves, or obvious debris without losing water. If the catch was compromised, record that fact instead of inventing a precise total.
- Bring the water level to eye height. Looking down makes the apparent level shift against the markings. Keep the tube vertical and view it straight on.
- Read the bottom of the meniscus. Water curves slightly upward along the wall of a clean tube. Use the lowest point of that curve and estimate to the nearest 0.01 inch.
- Record before you empty. Write the amount, time, and any relevant notes immediately. Then empty the gauge completely so the next observation starts at zero.
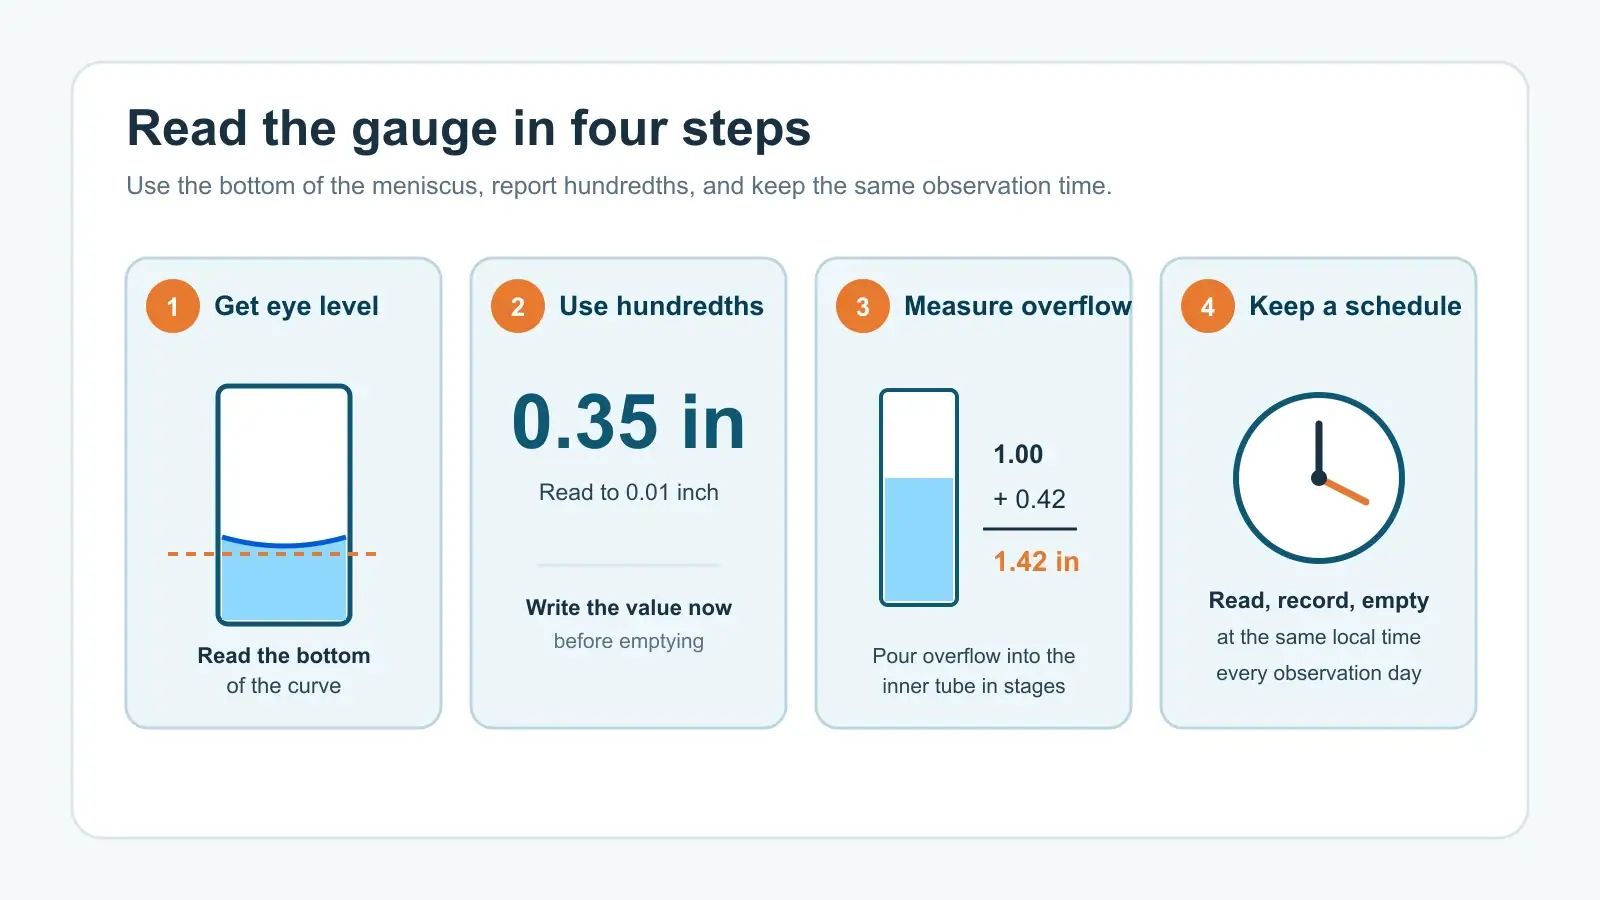
Report liquid precipitation in inches and hundredths: 0.03, 0.27, or 1.42 inches. A wet gauge that contains less than 0.01 inch is normally recorded as a trace of precipitation, written T, if rain truly fell. Dew or condensation inside the gauge is not precipitation and should not be reported as a trace.
How to measure more than one inch
When the inner tube fills, additional water spills into the large outer cylinder. First read the full inner tube—normally 1.00 inch—and empty it. Carefully pour the outer-cylinder water into the calibrated tube. If that also exceeds the tube's capacity, record each full 1.00-inch pour and repeat until you can read the final partial amount.
Then add every component. Suppose the gauge contains one full inner tube, enough overflow for another full tube, and a final reading of 0.42 inch. The storm total is 1.00 + 1.00 + 0.42 = 2.42 inches. Work over a stable surface and write down each pour so a spill or forgotten subtotal does not spoil the measurement.
During a multi-day storm, emptying the gauge at your regular daily observation is not the same as declaring that the storm ended. Keep both ideas if they matter to you: a daily total for each fixed period and a storm total made by adding those daily observations. Never leave yesterday's water in the gauge and then label the combined amount as today's rain.
Turn a gauge reading into a useful weather record
A strong record states what the number covers. Note the date and exact observation time, amount, precipitation type, and anything that may have affected the catch. Useful comments include strong wind, a clogged funnel, a moved gauge, hail in the tube, or an observation taken late. For a brief shower, you may also note approximate start and end times, but the fixed daily period should remain the backbone of the log.
| Field | Example | Why it matters |
|---|---|---|
| Observation time | 7:00 a.m. local | Defines the end of the 24-hour period |
| Liquid precipitation | 0.68 in | Uses a number to the nearest hundredth |
| Type | Rain, brief small hail | Adds context without changing the liquid total |
| Quality note | Strong east wind, catch may be low | Preserves a limitation instead of hiding it |
Compare your result with nearby gauges, radar estimates, or a local mesonet only as a quality check. A difference does not prove your gauge is wrong: summer downpours can change sharply over a mile. A persistent low bias across many broadly uniform storms, however, may reveal a tilted collector, poor exposure, a leak, or an electronic calibration problem. Our guide to recording daily weather observations explains how to keep those notes consistent.
Common rainfall-measurement mistakes
- Reading from above: parallax makes the water level appear against the wrong mark.
- Using the top of the meniscus: the standard reading is the bottom of the curved surface.
- Calling dew rain: moisture that condensed on the gauge did not fall from a cloud.
- Changing observation time silently: a 30-hour total cannot be compared directly with your usual 24-hour totals.
- Forgetting the overflow: the outer cylinder is collected rain, not excess water to discard.
- Reporting false precision: a coarse decorative gauge cannot support a reading such as 0.37 inch.
In freezing weather, remove the funnel and inner tube if your gauge instructions call for winter configuration, then melt collected frozen precipitation indoors and measure the liquid. Do not pour hot water into the catch unless you separately measure and subtract the added water. For snowfall depth and new accumulation, use the distinct method in our snow-measurement guide.
Frequently asked questions
How often should I read a rain gauge?
Once daily at the same local time is best for a continuous climate-style record. You may take additional storm readings, but label their time periods clearly and avoid double-counting water in the daily total.
How far should a rain gauge be from a house?
Use the most open spot available. A useful minimum is about twice the obstruction height away, so the ideal distance grows with the height of the house, tree, or fence.
Why is my electronic gauge different from my manual gauge?
Wind, siting, splash, clogged funnels, tipping-bucket calibration, and intense rainfall can all contribute. Compare several storms before adjusting anything, and use a properly exposed manual gauge as the reference.
Can I report a trace when the gauge is wet?
Only if precipitation actually occurred but totaled less than 0.01 inch. Dew, fog condensation, sprinkler water, and an uncertain catch should not be converted into a trace rainfall report.
Sources and further reading
- CoCoRaHS: How to measure rain
- National Weather Service Flagstaff: Cooperative observer guidance and gauge siting
- National Weather Service Des Moines: Rainfall measurement refresher
- National Weather Service: Daily precipitation measurement standard (PDF)
Reviewed against current National Weather Service, NOAA, and volunteer-observer guidance on August 7, 2026.