
Preparedness checklist
DIY Car Emergency Kit: What to Pack and Why
Build the kit around shelter, communication, visibility, first aid, traction, and vehicle recovery, then add seasonal items for heat, cold, floods, or remote travel.
Quick answer Start with a charged phone and car charger, reflective warning devices, flashlight, first-aid kit, weather-appropriate clothing and blanket, water, shelf-stable food, ice scraper, compact shovel, traction material, jumper cables or a maintained jump pack, and basic tools. Add medications, child, pet, and accessibility supplies for the people who actually ride in the vehicle.
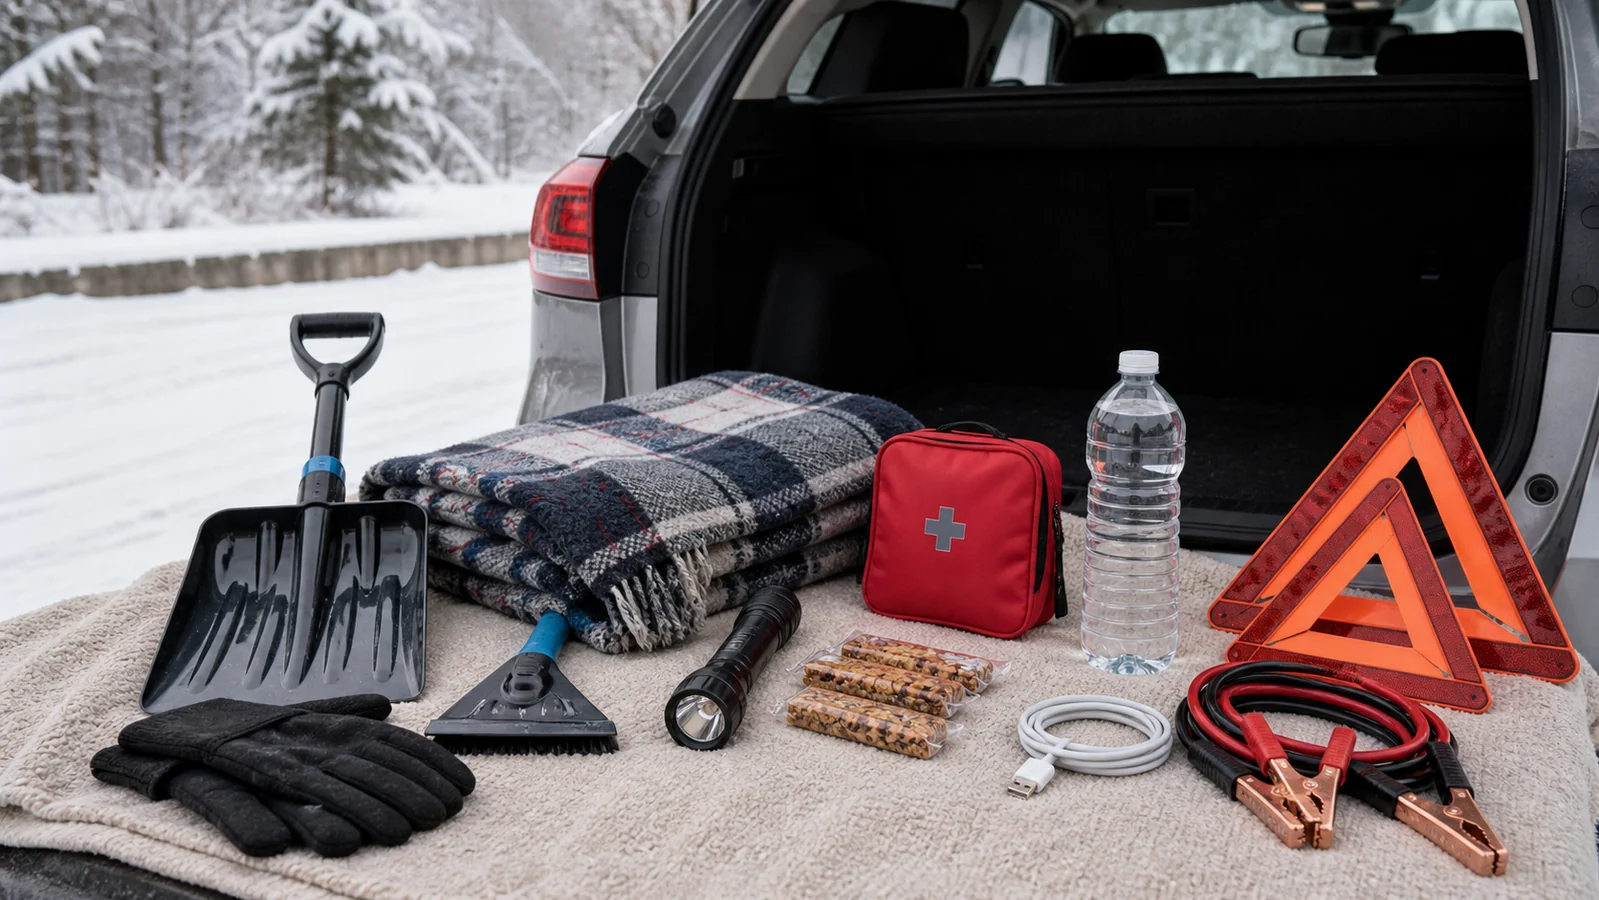
Core car emergency kit
| Need | Pack | Why |
|---|---|---|
| Communication | Phone, 12-volt/USB charger, backup battery | Contact help and share location |
| Visibility | Reflective triangles or LED beacons, reflective vest, flashlight | Reduce secondary-collision risk |
| Shelter | Blanket, rain shell, gloves, hat, spare dry layers | Limit heat loss and wet exposure |
| First aid | Basic kit, personal medications, nitrile gloves | Treat minor injuries while waiting |
| Information | Paper contact card and local map | Works when a phone is dead or service is absent |
Pack the kit so it works during a real stop
A complete inventory is not useful if the most urgent item is buried under luggage or locked in a trunk that cannot be opened. Divide the kit by access and risk. Keep a phone cable, small flashlight, warm layer, medication, and seat-belt cutter or escape tool reachable from a belted seating position. Store warning devices where they can be retrieved without standing in a traffic lane. Secure heavier tools, water, and recovery equipment low in the cargo area so they cannot become projectiles in a collision.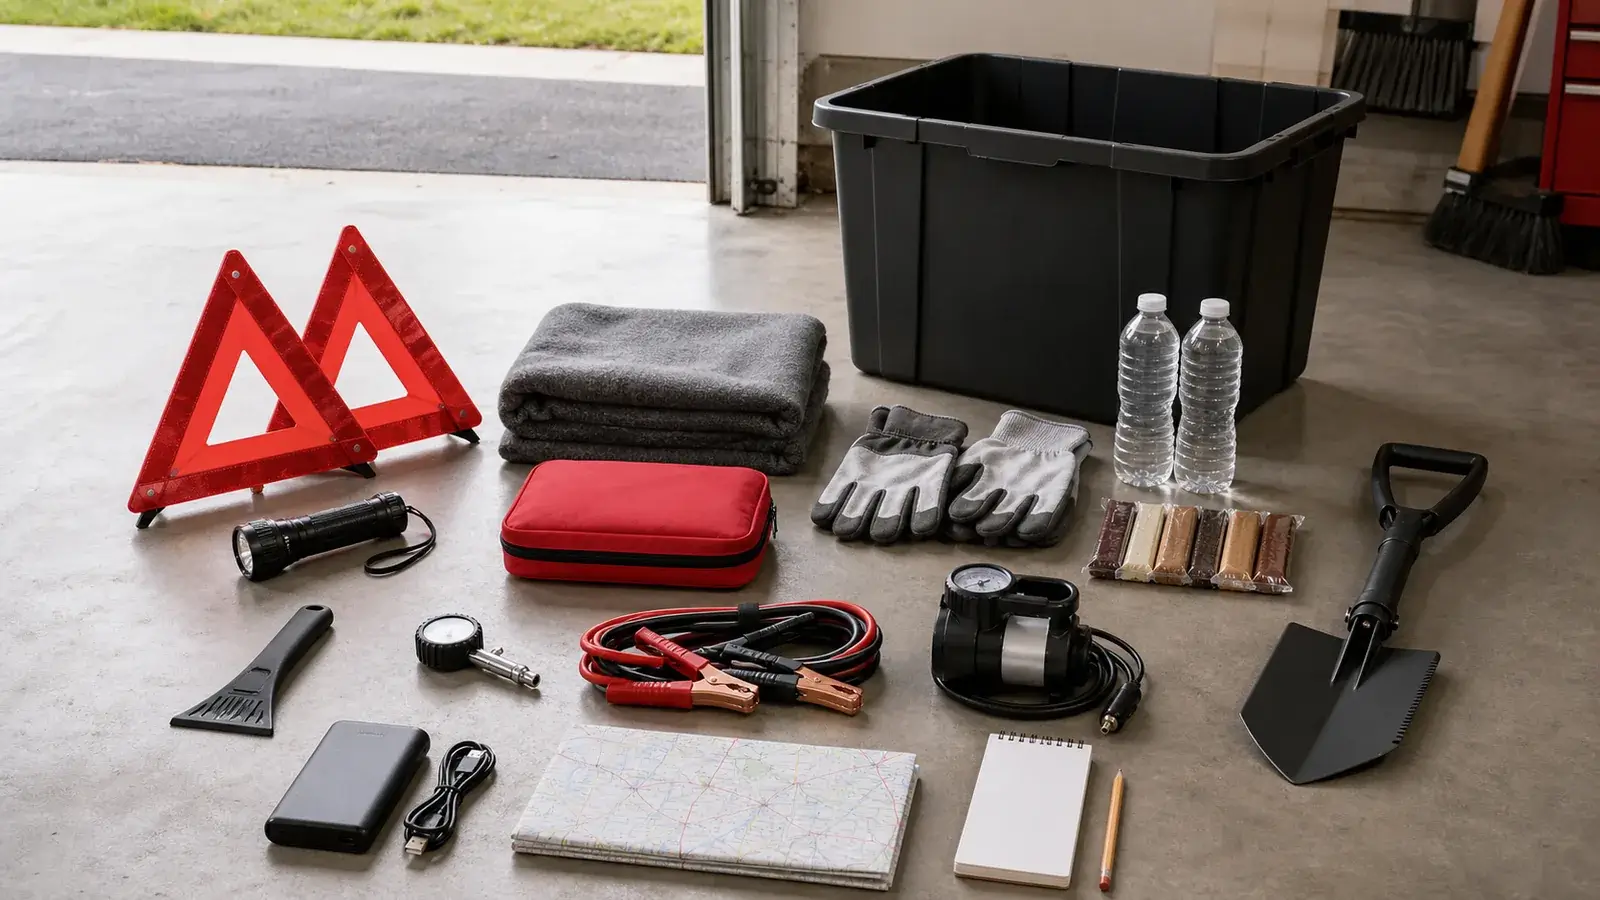
| Storage zone | Good candidates | Important caution |
|---|---|---|
| Reachable in the cabin | Phone power, light, warm layer, medication, contact card | Do not leave loose hard objects where airbags deploy |
| Top of cargo kit | Reflective vest, triangles or beacons, gloves, rain shell | Retrieve from the side away from moving traffic when possible |
| Secured cargo area | Shovel, inflator, cables, tools, water, traction material | Restrain the container and keep weight within vehicle limits |
| Seasonal passenger module | Child, pet, disability, allergy, or climate-specific supplies | Update sizes, prescriptions, dates, and contact information |
Test equipment before relying on it
Practice with non-emergency tasks in a driveway or garage: unfold the warning triangles, put on the reflective vest, find the flashlight controls, connect the phone cable, and review the jump-pack and inflator manuals. Verify that the inflator reaches every tire valve and that its plug matches an available outlet. Check the pressure gauge against the vehicle's door-jamb recommendation, not the maximum molded onto the tire sidewall. Do not perform a roadside repair as the first attempt with unfamiliar equipment.Temperature matters during storage. Recharge batteries and jump packs on the maker's schedule, inspect disposable cells for leakage, and follow stated limits for medication, water containers, food, and electronics. If an item cannot remain safely in a hot or freezing parked car, create a small grab-and-go module that travels with the driver instead of leaving it in the vehicle year-round.Add these for winter
- Compact snow shovel and ice scraper/brush
- Sand or non-clumping cat litter for short-distance traction
- Extra warm, dry layers and insulated blanket or sleeping bag
- Waterproof boots and work gloves
- High-calorie shelf-stable food
- Bright cloth or other signal marker
Food, water, and passenger needs
Choose food that tolerates the expected storage temperature and does not require cooking: nut or seed bars, crackers, dried fruit, and similar items. Rotate anything that can melt, freeze, become rancid, or attract pests. Water containers need headspace in freezing climates and should be inspected for leaks.Add prescription medication, spare glasses, infant supplies, pet restraint and water bowl, mobility-device supplies, and any medical information a responder may need. The right kit for a daily solo commute is different from one for children, pets, or remote winter highways.Vehicle recovery tools: use the safe boundary
Jumper cables or a jump pack, tire inflator, pressure gauge, plug kit, tow strap, and basic tools can be useful only when the user knows the equipment and the roadside location is safe. Never crawl under a vehicle supported only by a jack. Do not attempt a tire change next to fast traffic or on unstable ground. Call roadside assistance and move occupants behind a barrier when safe.A fire extinguisher rated for automotive use can help with a very small, early fire only when there is a clear escape path. If a vehicle fire grows, move away and call emergency services.Inspect the kit twice a year
- Test every battery and light. Recharge packs and replace weak cells.
- Check dates and temperature damage. Rotate food, water, medication, and first-aid supplies.
- Inspect cables and straps. Look for corrosion, abrasion, or missing instructions.
- Update for the season. Swap heat, cold, rain, wildfire, or flood-specific items.
- Secure the kit. Heavy objects should not become projectiles during a crash.